Tour du Mont Blanc Navigation Guide: Maps, GPS & Waymarks
How to navigate the Tour du Mont Blanc — waymarked trails, AllTrails offline maps, Garmin GPS, variants, permits and what we used on trail.
Hiked by Lee
Self-guided
Last verified
The main Tour du Mont Blanc loop is well waymarked — red-and-white TMB markers through France, Italy and Switzerland. That does not mean you can wing it: variants, weather and marker conflicts caught us out on day 2. This guide covers maps, GPS, permits and what actually worked on our self-guided hike.
Also read: Complete TMB Guide · Itinerary · Official Swiss diversion (Autour du Mont-Blanc) · Difficulty
Navigation at a glance
| Question | Answer |
|---|---|
| Waymarked? | Yes — excellent on main TMB |
| Permit required? | No general trekking permit for the standard summer route |
| Offline maps needed? | Strongly recommended |
| Paper map? | Useful backup; we relied on digital |
| GPS watch? | Very helpful on variants |
| Phone signal? | Patchy at cols; don’t depend on live data |
Waymarking on the TMB
The classic loop uses red-and-white paint marks (GR-style) plus TMB-specific signage at junctions.
On the main route:
- Follow TMB / Tour du Mont Blanc signs at splits
- Markers are frequent in busy sections (France, Val Ferret)
Where it gets tricky:
- Variants share junctions with the main trail — Robert Blanc, Fenêtre d’Arpette, Col des Fours
- Multiple paths into Courmayeur and Champex
- Snow can obscure markers early/late season
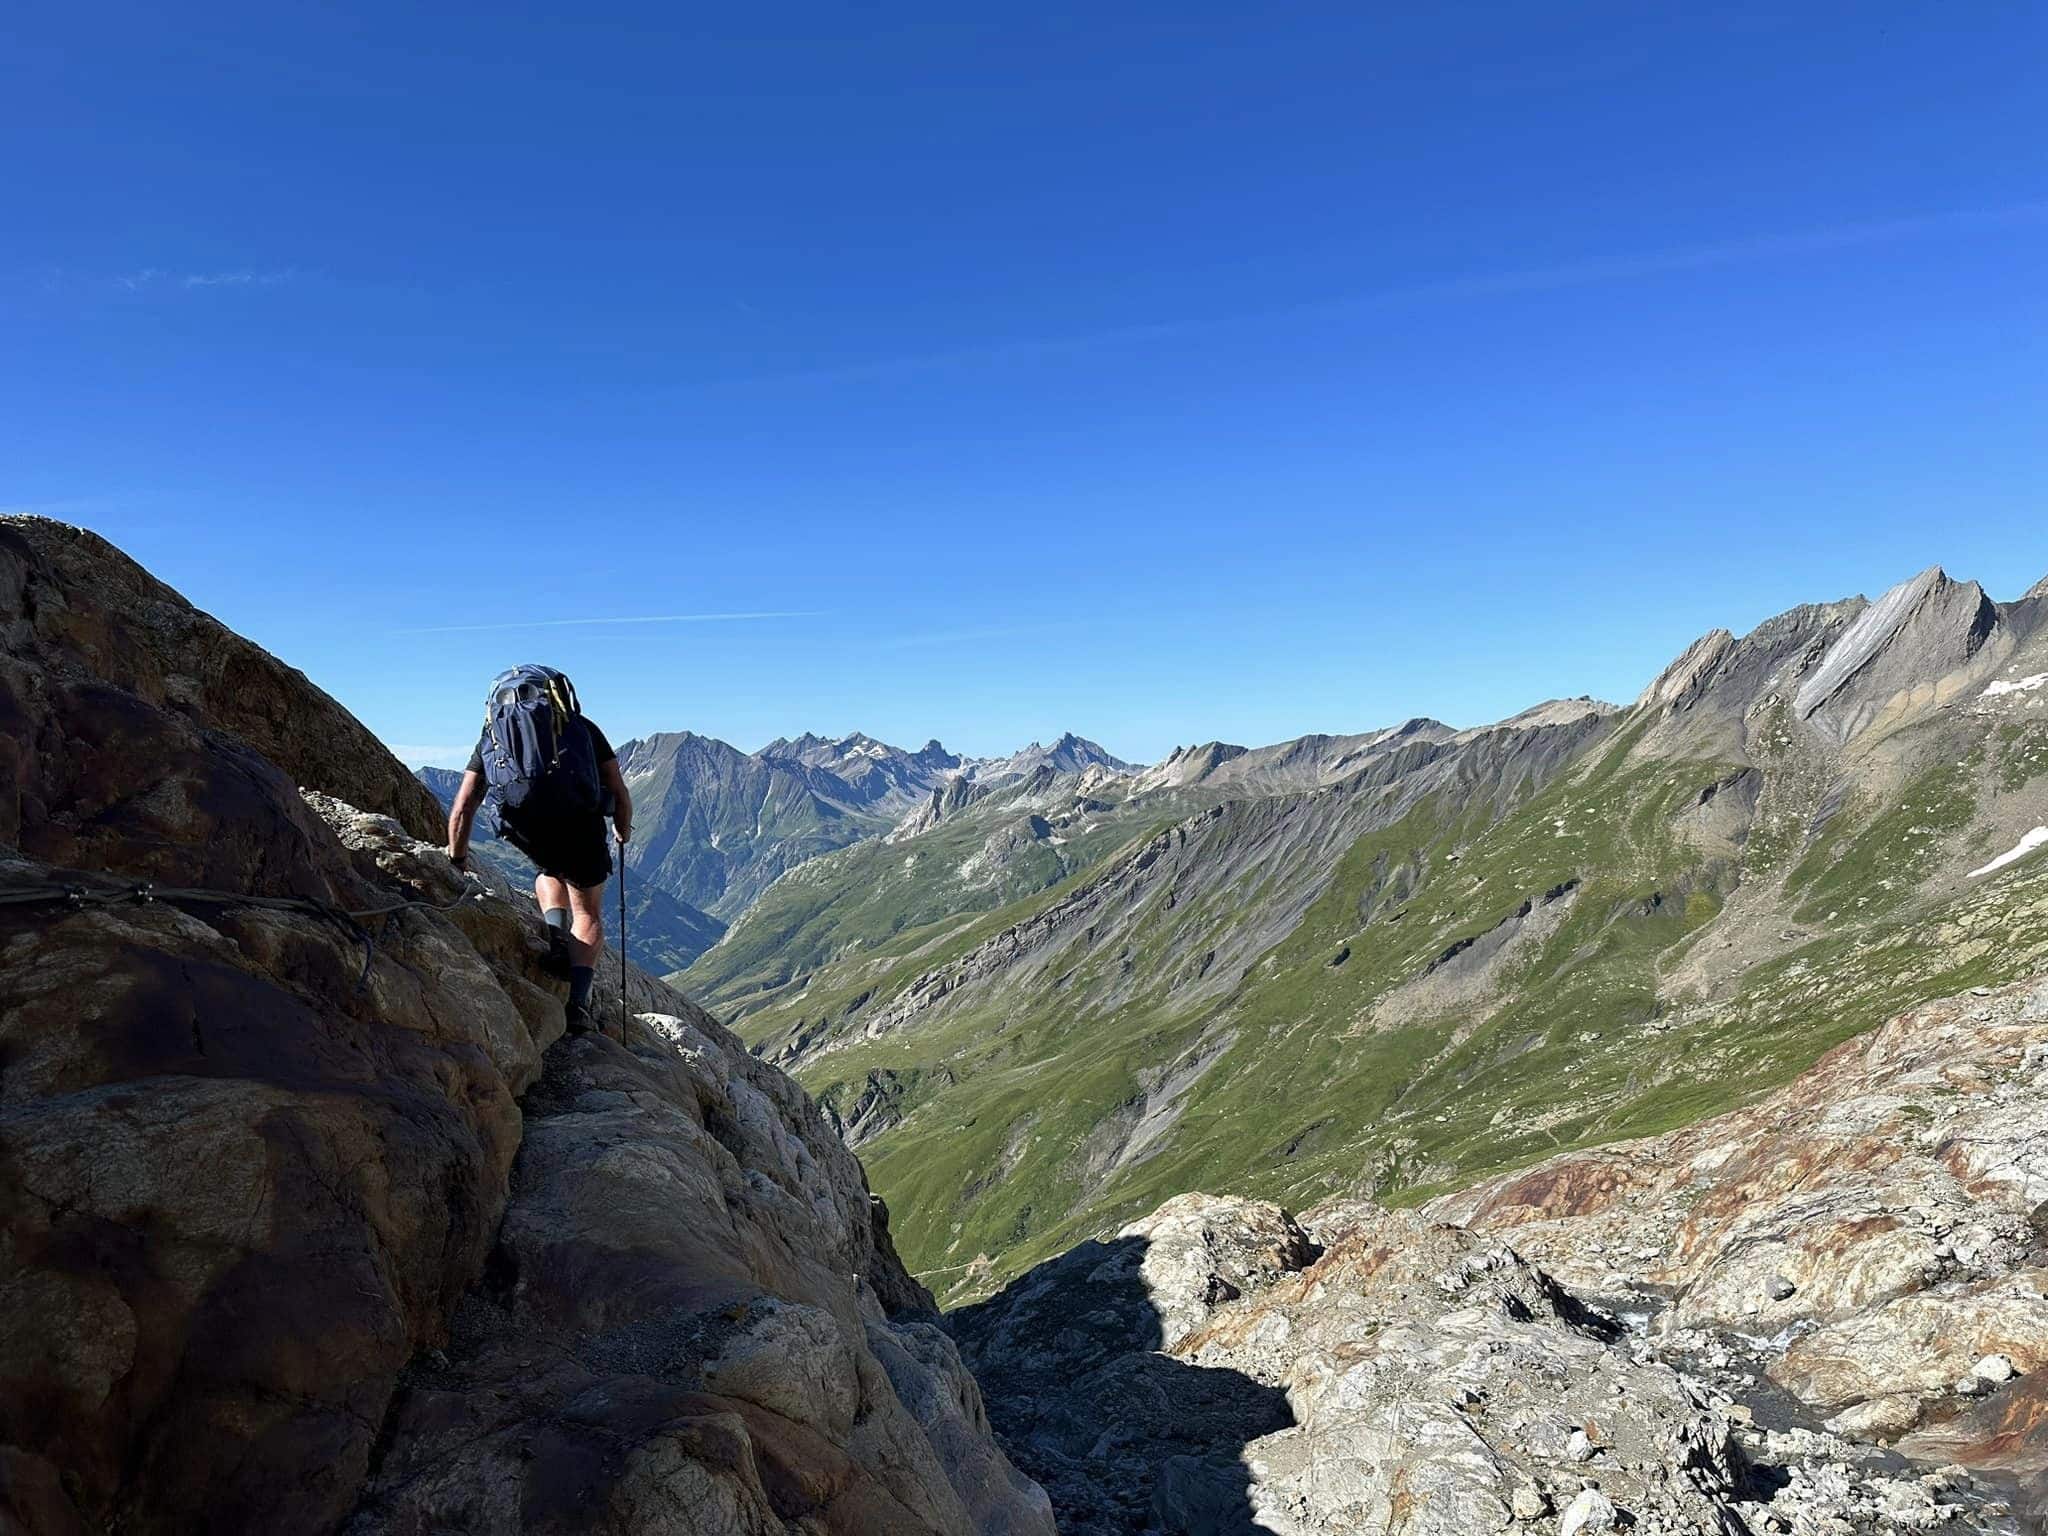
Lesson from day 2: We followed paint marks instead of our downloaded map and descended the wrong side of the mountain — adding hours. After that we trusted GPS over markers on variants.
Maps & apps we used
AllTrails (primary)
We downloaded the Tour du Mont Blanc loop on AllTrails for offline use (Pro subscription). This was our main navigation tool.
Garmin watch
GPS track on a Garmin Fenix gave quick elevation, distance and route confirmation — especially when the phone stayed in the pack. See packing list for gear notes.
Paper backup (optional)
- IGN / SwissTopo sheets or a Cicerone guidebook map
- Kompass or Michelin alpine maps for the full loop
- Not required if digital backups are solid — but nice if your phone dies
Route variants & navigation
| Variant | Nav difficulty | When to use |
|---|---|---|
| Bellevue cable car (day 1) | Easy | Skip first climb — clear signage to join TMB |
| Robert Blanc (days 2–3) | Hard | Clear weather only; download dedicated GPX |
| Lacs Jovet / Col des Fours | Moderate–hard | Alternative high routes |
| Fenêtre d’Arpette (day 8) | Hard | Snow-free conditions; exposed |
| Mont de la Saxe ridge | Moderate | Bonatti–Courmayeur views |
Rule: Attempt variants only with offline maps, stable weather and exit plan to the main trail.
Permits & regulations
Trekking permits
The standard summer TMB hiking route does not require a trekking permit for independent walkers. You book refuges, not a trail licence.
Areas to be aware of
- Swiss diversion — Prayon to Branche (Treutsebo) — from 11 July 2026, follow the official waymarked diversion only; the previous line is closed for rockfall safety (Autour du Mont-Blanc). No wild camping or bivouac in this sector — use designated campings such as Camping des Glaciers (La Fouly) or Rocailles / Relais d’Arpette as listed by the authority.
- Aiguilles Rouges Nature Reserve — stay on marked paths; no wild camping
- Border crossings (FR/IT/CH) — carry ID; no formal border post on trail
- Camping — restricted; use designated campsites or refuge tents where offered
- Drones — regulations vary by country and reserve; check locally
Refuge booking ≠ trail permit
Your refuge reservation is accommodation only. It does not replace navigation preparation.
Practical navigation kit
From our packing list:
- Phone with offline maps (AllTrails or equivalent)
- GPX files for planned variants
- GPS watch or second device backup
- Power bank (10,000 mAh+)
- Headlamp for early/late hut arrivals
- Whistle
- Paper map or guidebook (optional)
Weather & route decisions
Navigation and weather are linked on the TMB.
| Condition | Best picks | Why it excels | Extra tips |
|---|---|---|---|
**Clear skies** | Variants feasible with GPS | ||
**Cloud on cols** | Stick to main route | ||
**Storm / lightning** | Turn back or use lift escape (we used Col de Balme lift) | ||
**Snow on Arpette** | Take Bovine route |
We shortened day 9 in sleet — navigation mattered less than knowing the escape (lift + tent refuge).
Trailheads & direction
The traditional start is Les Houches (see getting there). The loop works clockwise or anti-clockwise — book refuges in your walking order.
Key junctions to study beforehand:
- Les Houches / Bellevue cable car
- Col du Bonhomme vs Robert Blanc split
- Courmayeur / Val Ferret
- La Fouly → Champex-Lac (Prayon–Branche diversion from Jul 2026) — check official TMB conditions before you leave La Fouly
- Champex — Bovine vs Arpette
- Col de Balme (France re-entry)
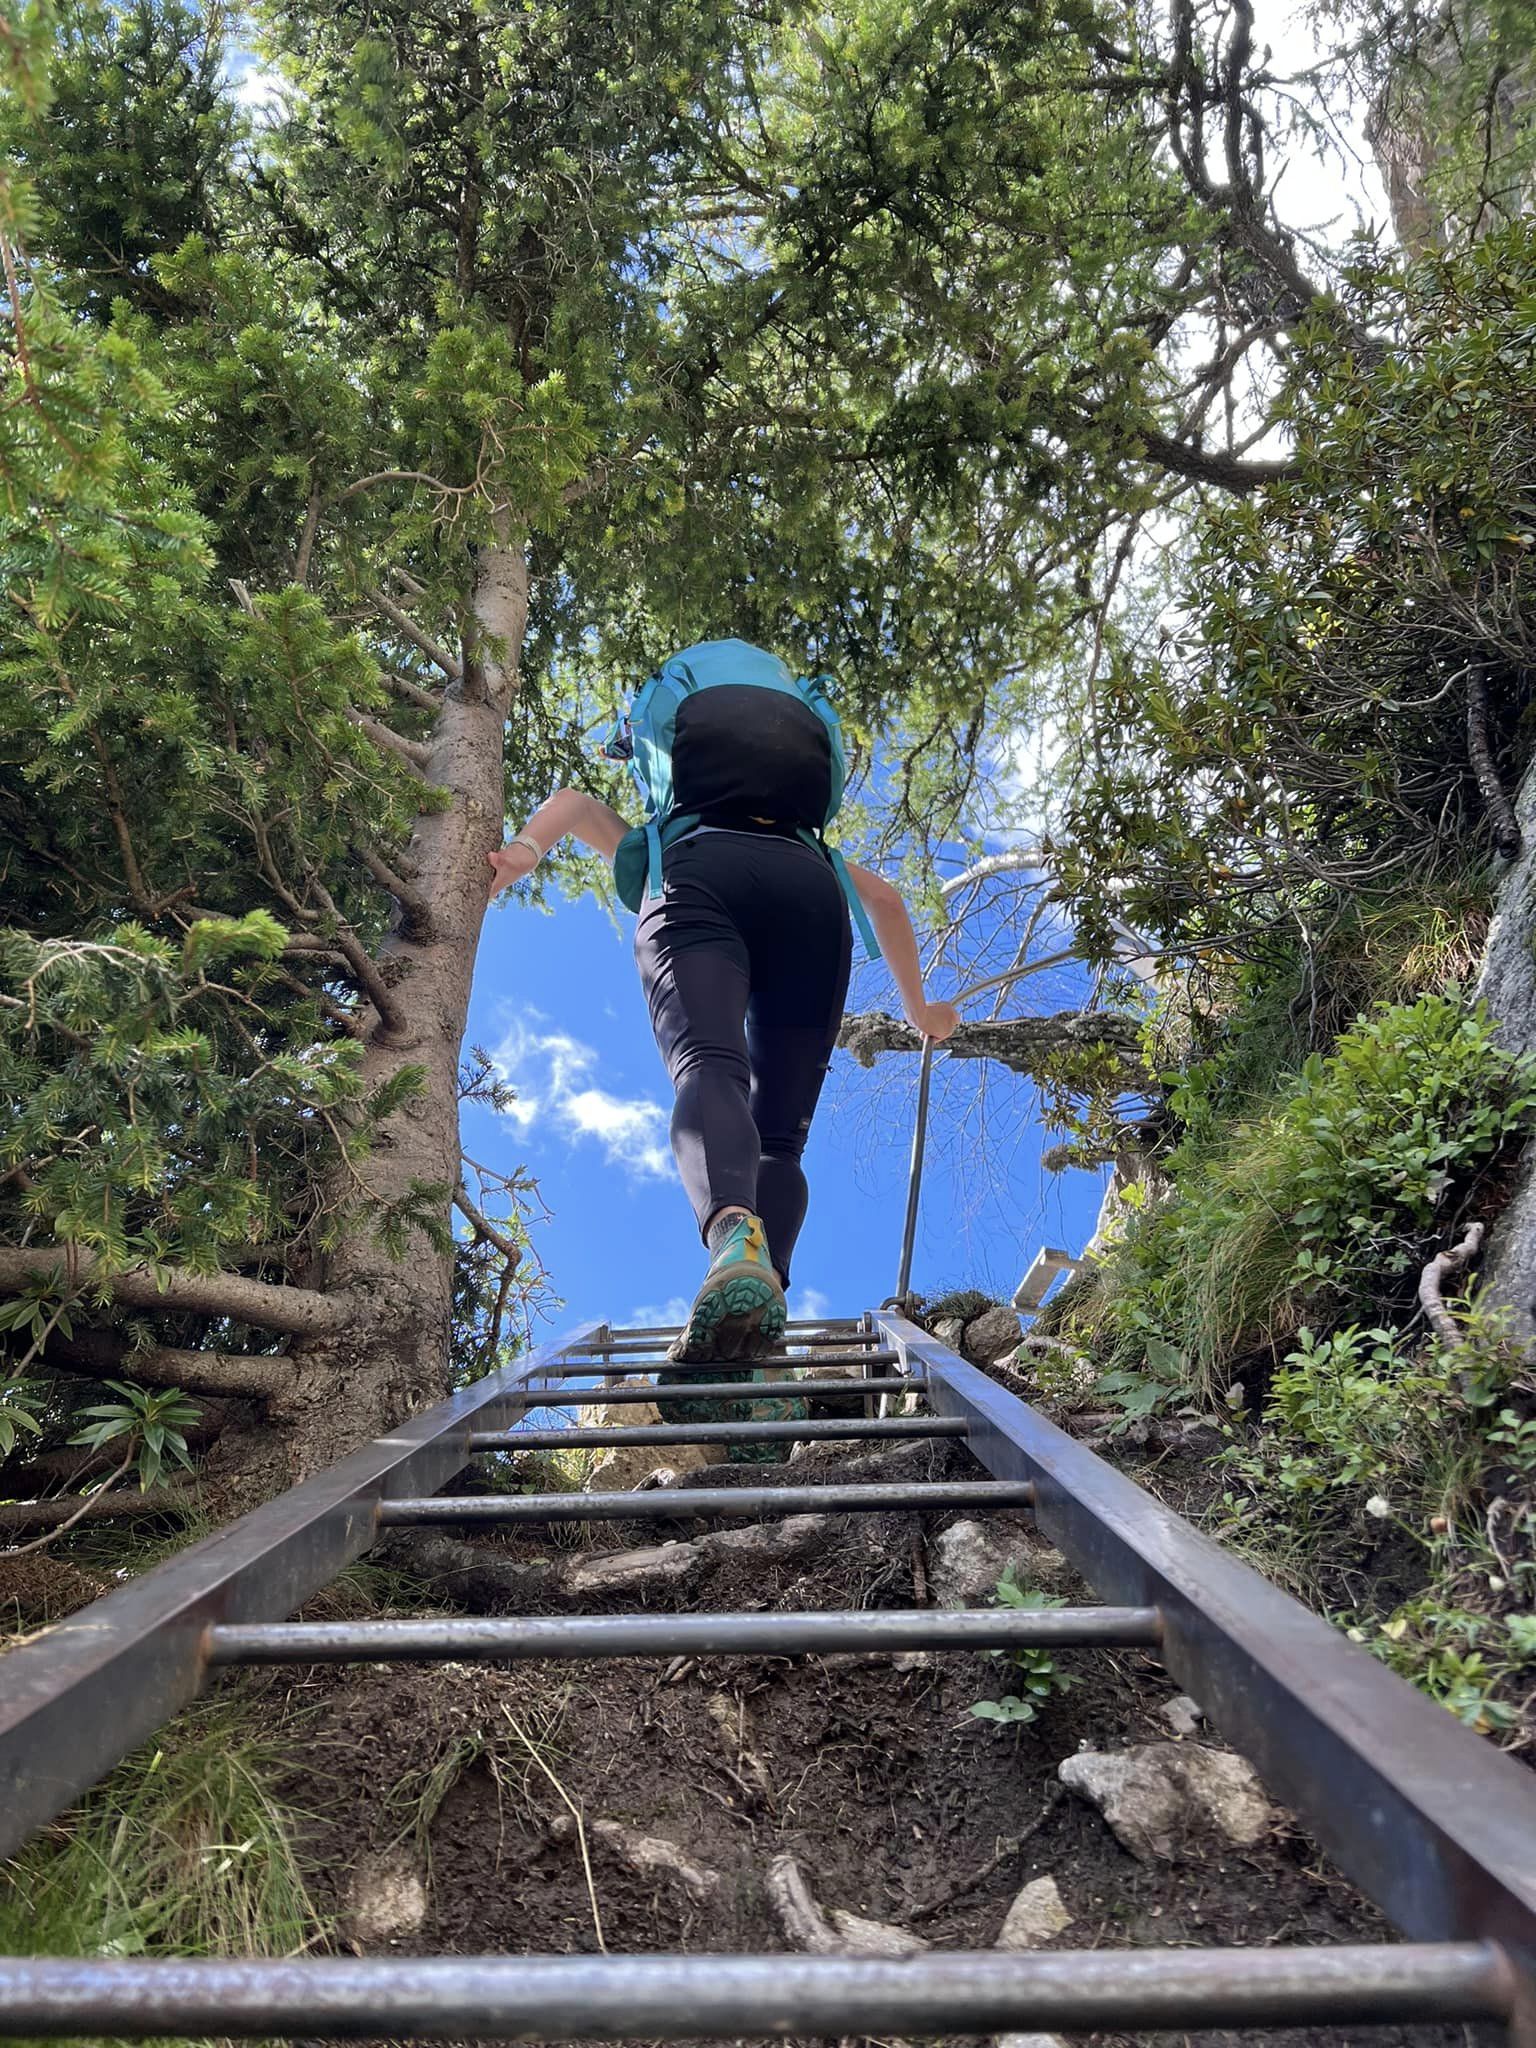
- La Flégère ladders vs cable car down
Navigation mistakes to avoid
- Relying on markers alone on variants — carry offline GPS
- No backup battery — cold cols kill phone charge
- Starting Arpette in bad weather — turn onto Bovine early
- Assuming signal — download everything in Chamonix
- Ignoring refuge advice — hut keepers know daily conditions
Related planning
- Difficulty — who should attempt variants
- Itinerary — stage distances and escape options
- Packing list — GPS watch, power bank, headlamp
- Trek overview — distance, elevation, tools
Next guide
After the Hike: Recovery, Lessons & What to Do Next
Post-trail recovery and lessons — first 48 hours, packing retrospectives, recovery towns Lee actually used, and links to plan your next hut trek.
Related guides
planning hub
After the Hike: Recovery, Lessons & What to Do Next
3 min read
Read guide →
trek comparison
Alta Via 1 vs Tour du Mont Blanc: Which Hut Trek Should You Hike?
Alta Via 1 · 7 min read
Read guide →
planning ladder
Beginner Hut-to-Hut Ladder: Iseltwald & Sorapis → Laugavegur → AV1 → TMB
6 min read
Read guide →