Alta Via 1 Navigation: Markers, Maps & Getting Lost
How to navigate Alta Via 1 — red-white AV1 markers, Komoot, Tabacco maps and where Lee found tricky trail-finding on the Dolomites route.
Hiked by Lee
Self-guided
Last verified
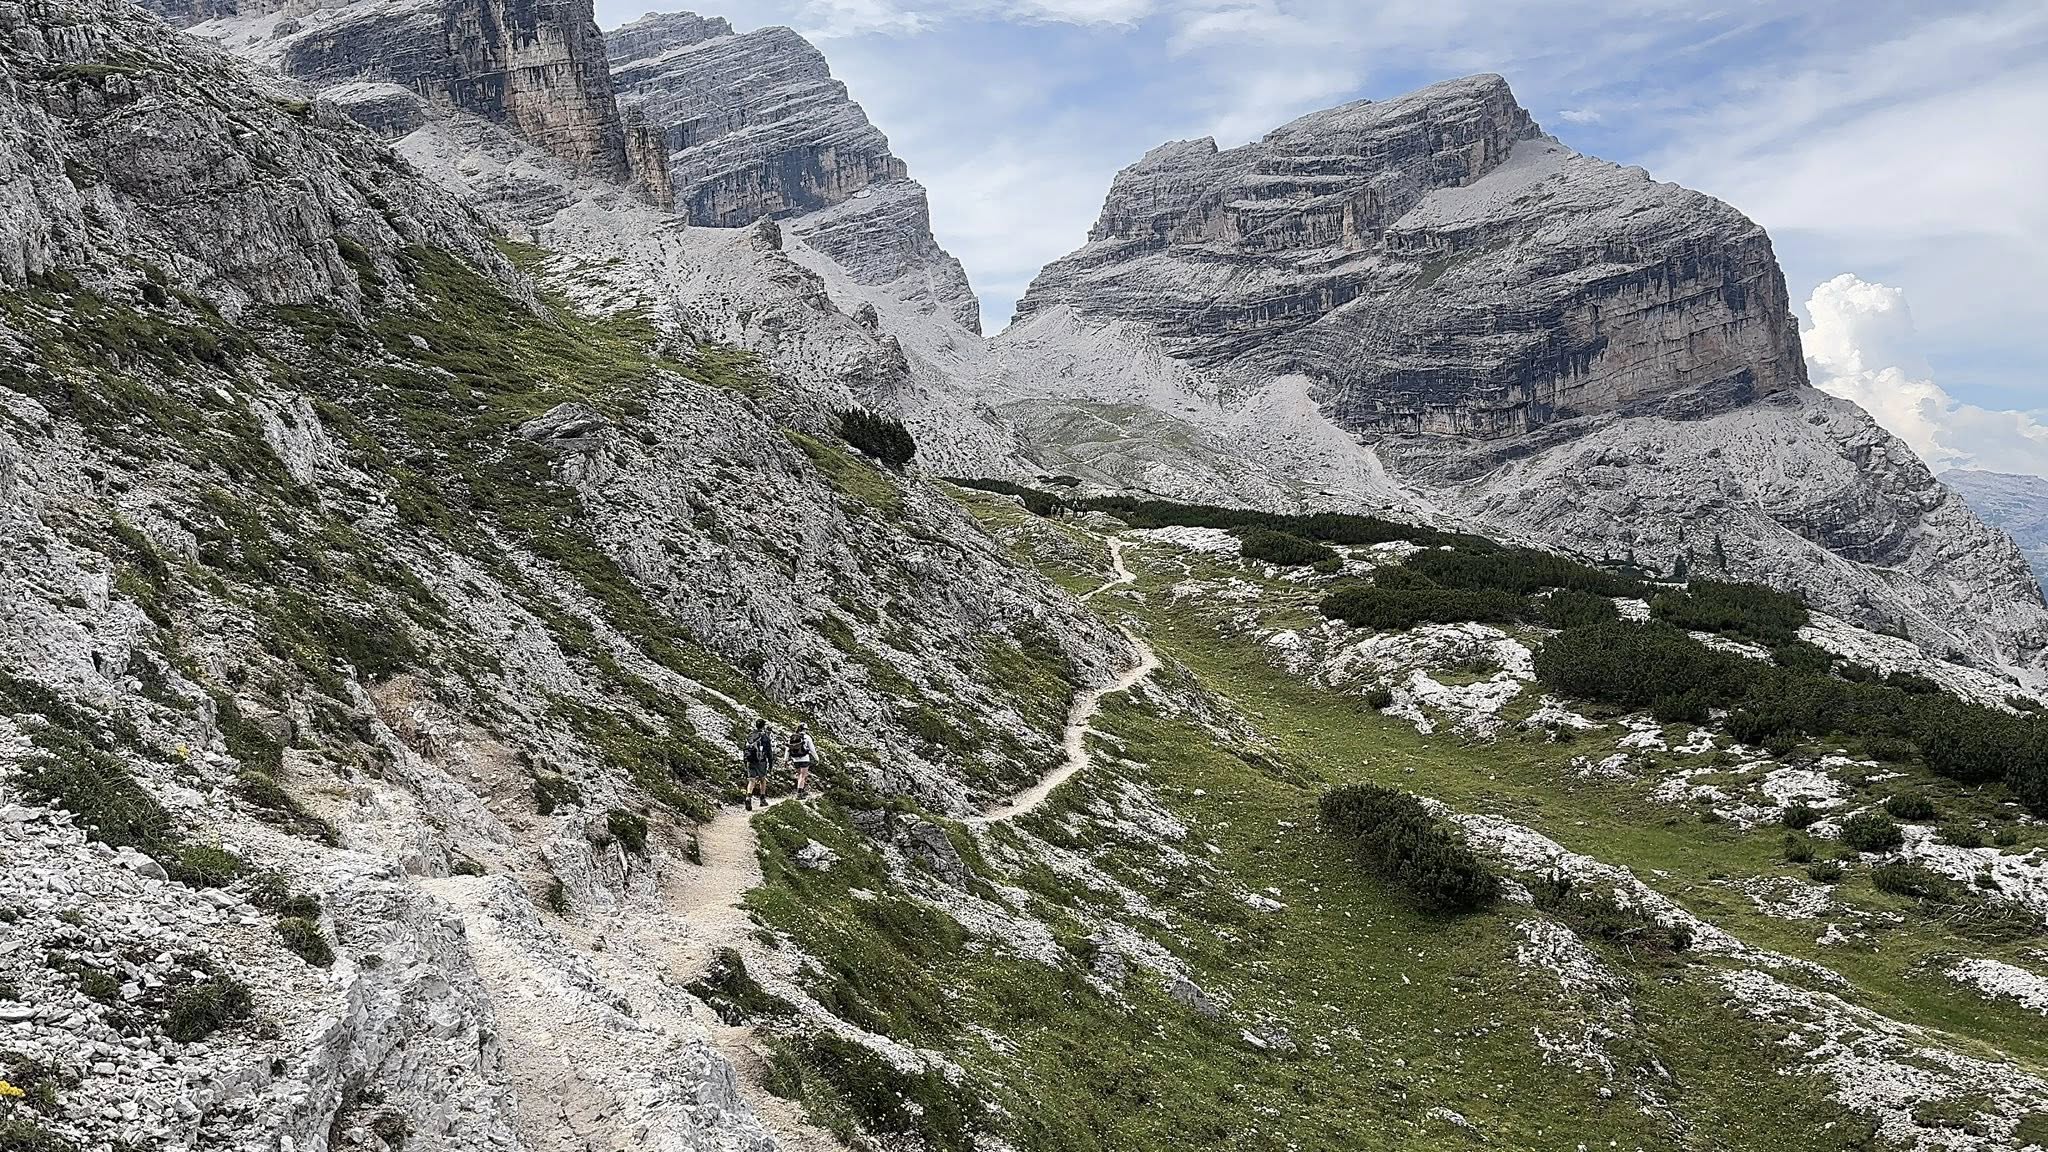
Alta Via 1 is well-waymarked for most of its length — red-white AV1 paint on rocks and posts. But markers fade, junctions multiply near tourist areas, and Days 6–8 demand offline maps and attention.
Also read: Complete Guide · Itinerary · Trek overview
Waymarking
| Marker | Meaning |
|---|---|
| Red-white-red AV1 | Official Alta Via 1 |
| Number 1 | Trail identifier on signs |
| Other coloured blazes | Different routes — don't follow blindly |
Markers are frequent on open alpine sections; sparser in forest and on southern descent.
Navigation tools
1. Komoot / GPS app
- Download offline maps for entire route
- Search "Alta Via 1 Stage X"
- Lee's primary on-trail tool
- Battery drain — carry power bank
2. Tabacco map (paper)
- Dolomites standard — Map 03 or AV1-specific
- No battery failure in storms
- Useful when phone dies on Day 4
3. Garmin watch
Lee carried a Garmin Fenix — track recording and breadcrumb back. See packing list.
Where navigation gets tricky
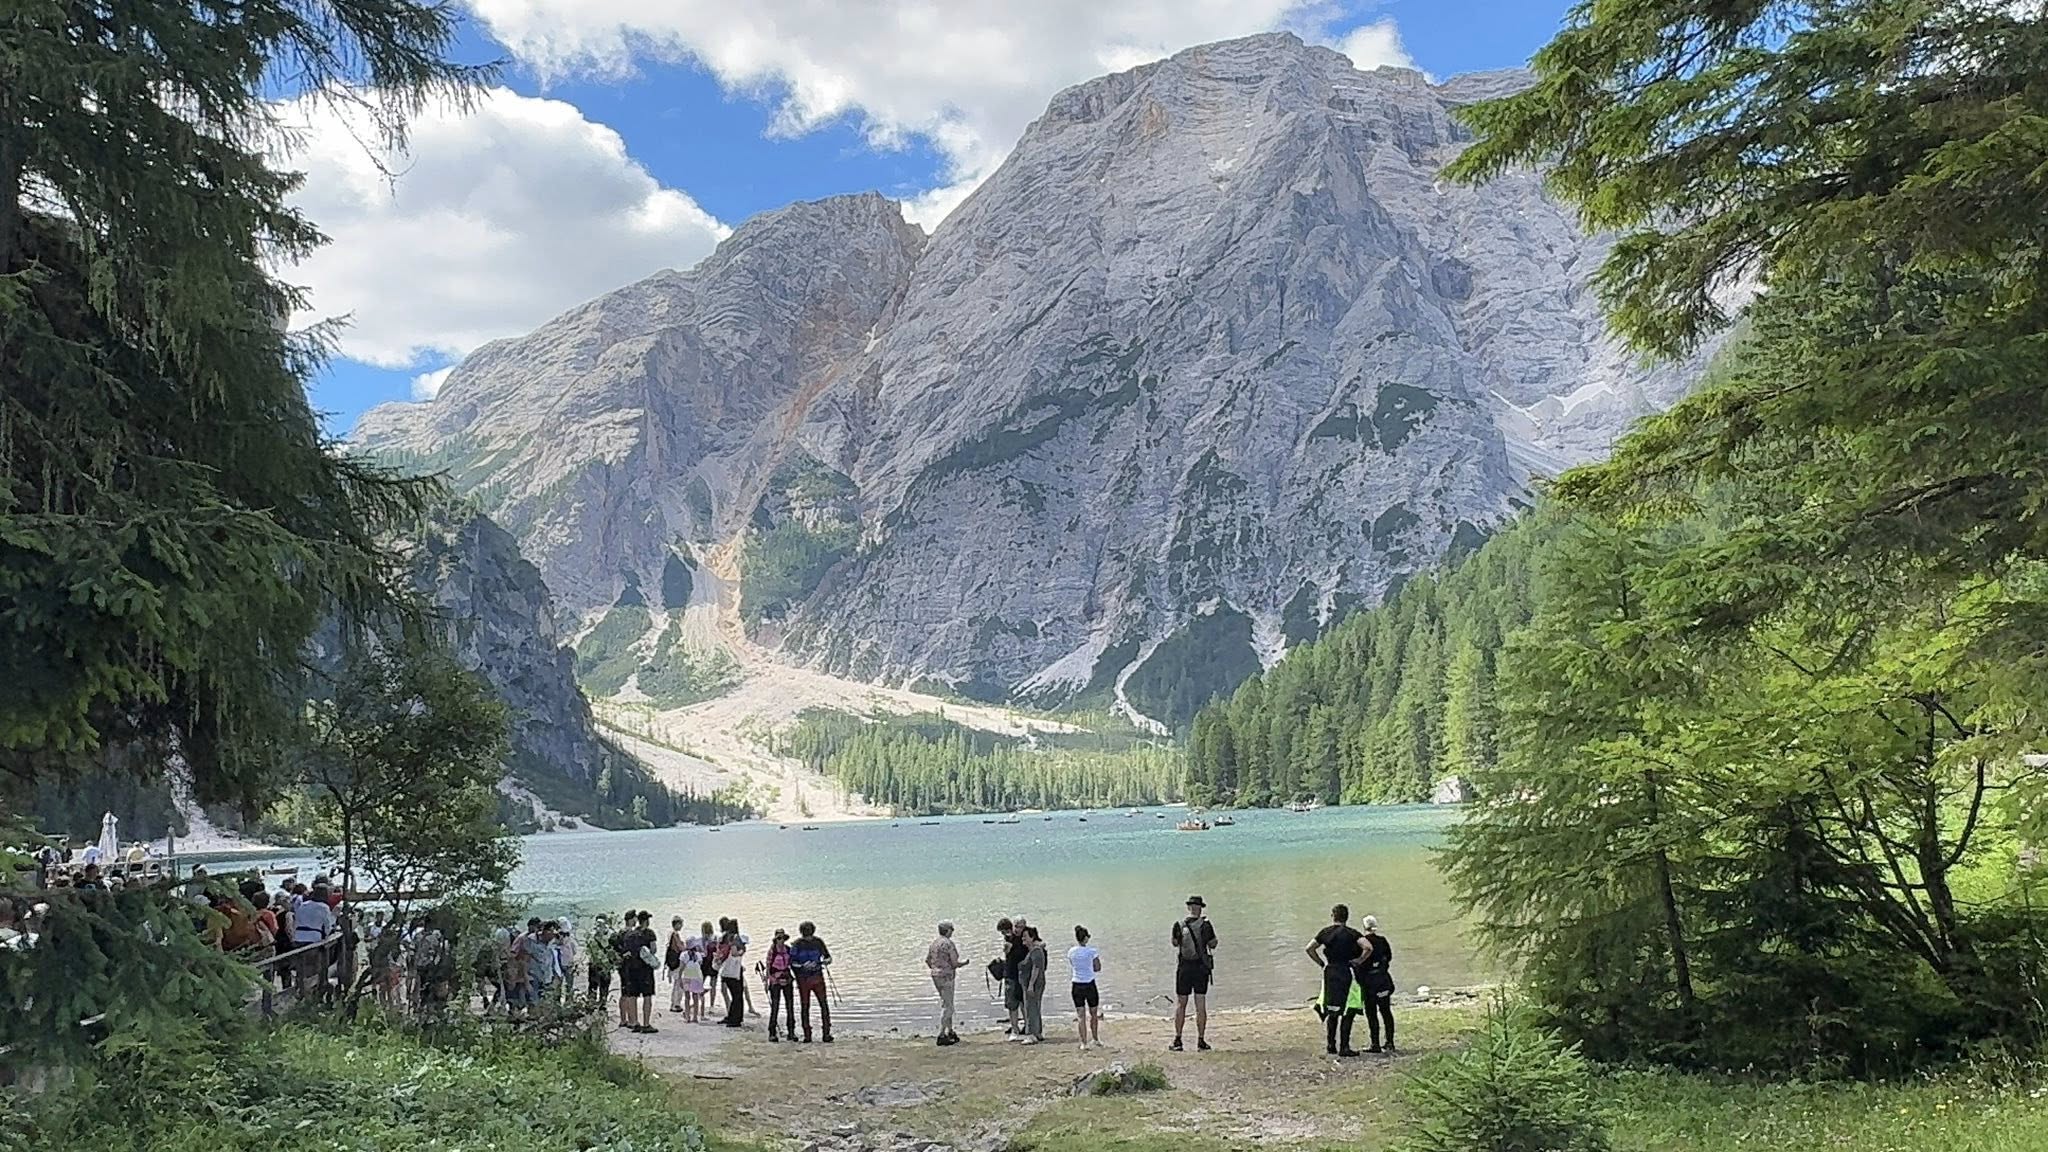
Day 1 — Braies crowds
Many day hikers near the lake. Follow AV1 markers leaving the shore — don't take scenic lake loops.
Day 3 — Lagazuoi detour
Optional climb to Rifugio Lagazuoi (2,752 m). Clear weather only. Cable car descent option next morning.
Day 4 — Junction fatigue
Tired after 20+ km? Double-check at Cinque Torri, Averau and Pelmo variants. Wrong turn adds serious distance.
Day 6 — Sparse markers
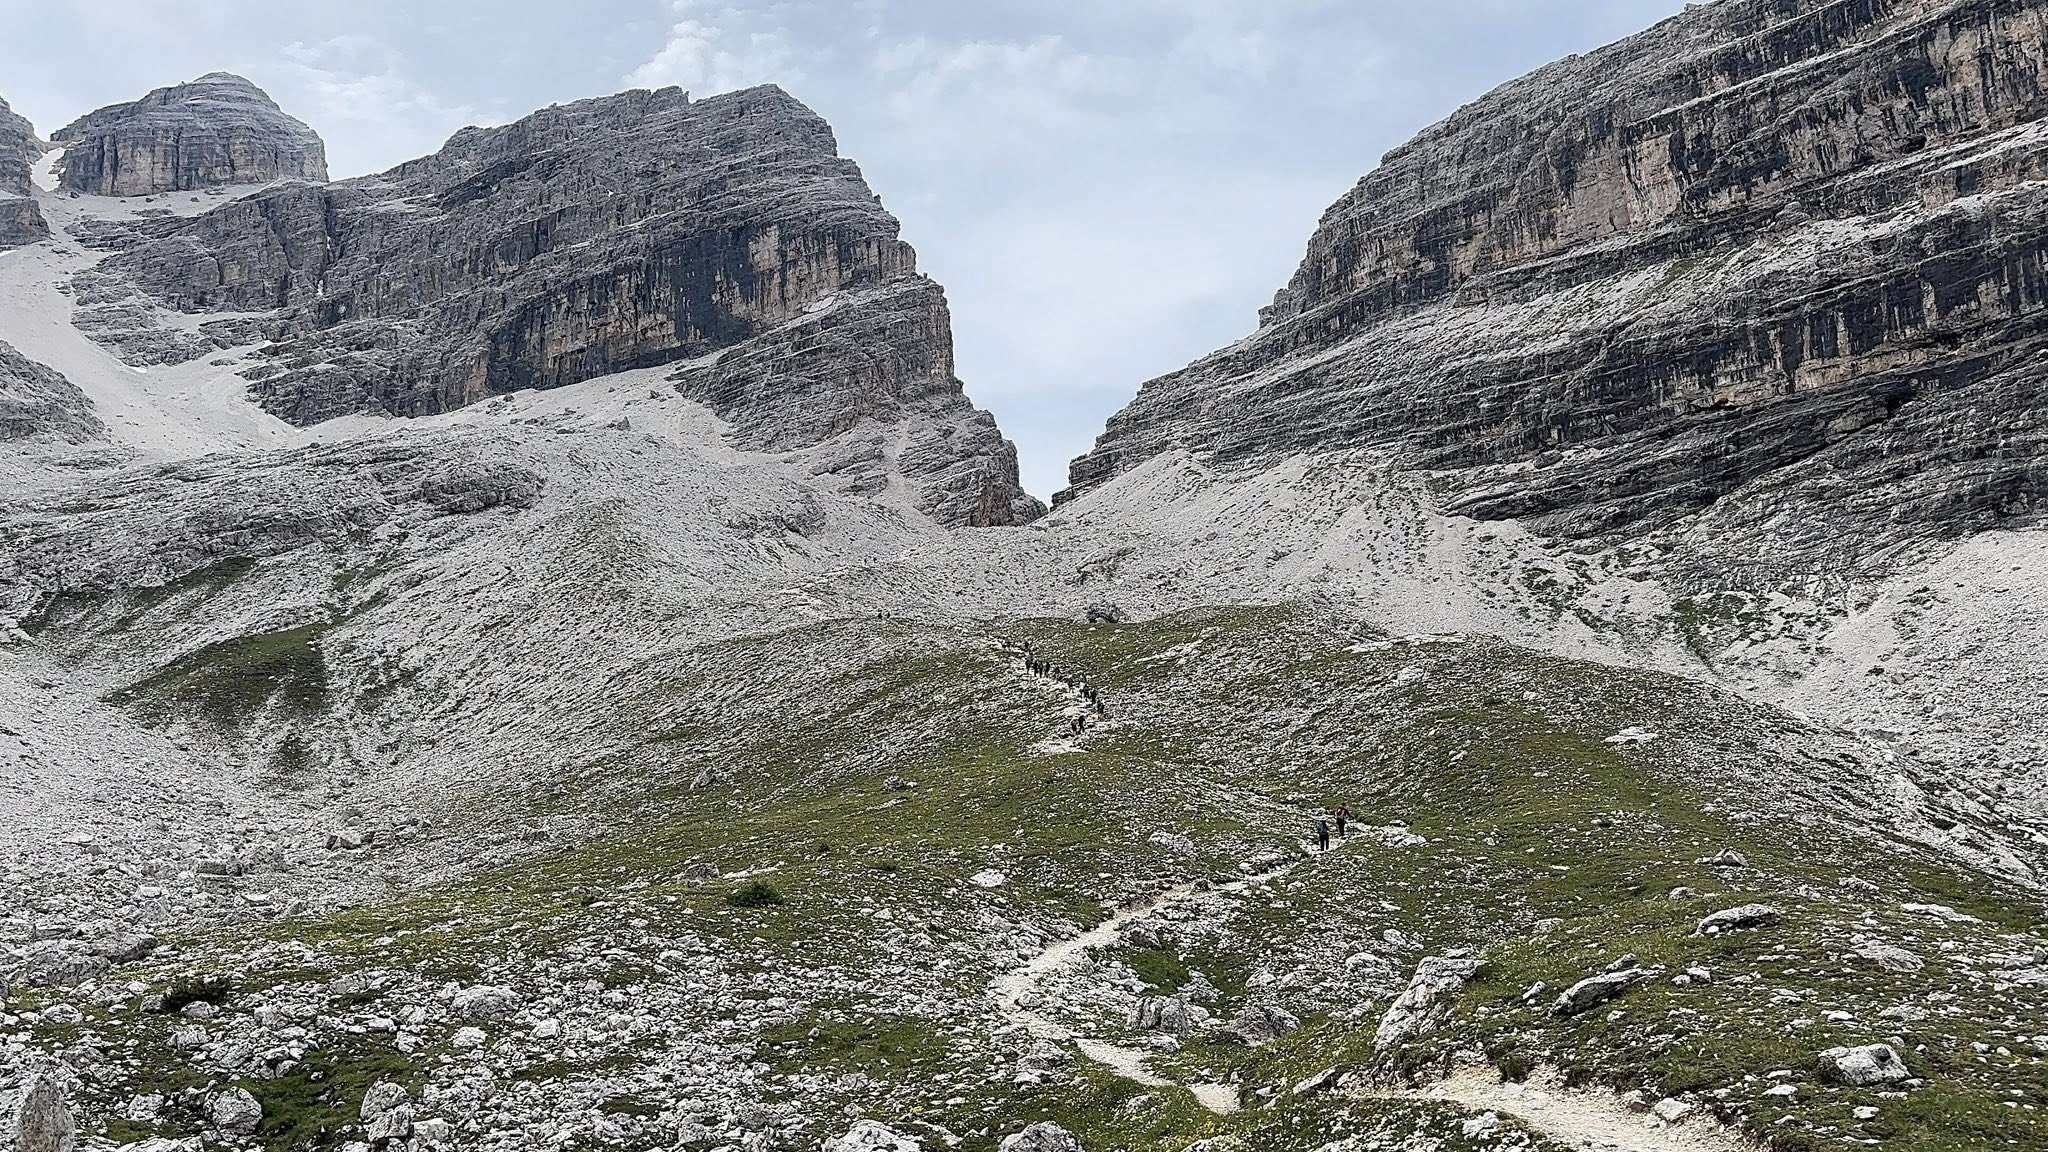
Vazzoler → San Sebastiano — rocky terrain, faded paint. Offline GPS essential.
Day 7–8 — Forest descent
Southern forest sections to La Pissa — markers intermittent. Plan exit before signal disappears.
WWI tunnel detours
Near Lagazuoi and Cinque Torri — historical tunnels and trenches. Fascinating but easy to wander off AV1. Rejoin main route on map.
Weather and navigation
- Afternoon thunderstorms — don't push exposed cols after 2 PM
- Fog — rare but disorienting on ridges; know bail-out to road-accessible rifugi
- Snow patches — early/late season on north faces
Bail-out points (road access)
| Rifugio | Access |
|---|---|
| Pederü | Bus from valley |
| Dibona | Road |
| Passo Staulanza | Road |
| San Sebastiano | Road (Passo Duran) |
Useful for injury, storms or schedule changes.
Offline checklist
- Komoot route downloaded (all 8 stages)
- Phone + watch charged; power bank packed
- Paper map backup (optional)
- Rifugio phone numbers saved
- Exit bus times saved for Day 8
If you go off route
- Stop — check map before continuing downhill
- Backtrack to last confirmed AV1 marker
- Komoot usually shows deviation within 100–300 m
- Ask at next rifugio — staff know the trail
Related planning
- Getting there — reach trailhead
- Difficulty — long days compound nav errors
- Itinerary — stage endpoints
- Packing list — Garmin, power bank
Next guide
After the Hike: Recovery, Lessons & What to Do Next
Post-trail recovery and lessons — first 48 hours, packing retrospectives, recovery towns Lee actually used, and links to plan your next hut trek.